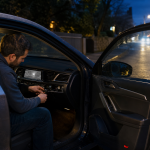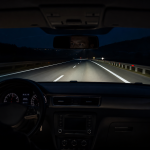
Car Night Vision Installation can range from a simple plug-and-play setup to a more complex job that involves hardwiring, mounting outside the vehicle, and careful alignment. Whether it’s difficult for you depends on the system type, your comfort with wiring, and how much integration is required with factory electronics.
- What Is a Car Night Vision System?
- How Difficult Is Car Night Vision Installation?
- The Main Installation Steps
- 1. Plan the Camera Position
- 2. Mount the Camera Securely
- 3. Route the Video Cable
- 4. Connect the Power Supply
- 5. Install and Position the Display
- 6. Test the System Before Driving
- What Makes Installation Difficult?
- Vehicle trim and interior access
- Airbag locations
- Electrical complexity
- Camera calibration and alignment
- Weather exposure
- Can a Beginner Install One?
- When Professional Installation Is Worth the Cost
- How Thermal Night Vision Differs From a Normal Camera
- Is a Night Vision System Useful in Real Driving?
- Installation Costs and Ownership Considerations
- A Practical Installation Checklist
- Frequently Asked Questions
- Is installing a car night vision system harder than installing a dash camera?
- Does a night vision camera need to be mounted outside the car?
- Can I connect the system to my factory infotainment screen?
- Will a thermal night vision system work in fog and rain?
- Can night vision replace headlights?
- Should I install the system myself or hire a professional?
- Conclusion
- What Is a Car Night Vision System?
- How Difficult Is Installation?
- The Main Installation Steps
- What Makes Installation Difficult?
- Can a Beginner Install One?
- When Professional Installation Is Worth the Cost
- Installation Costs and Ownership Considerations
- A Practical Installation Checklist
- Frequently Asked Questions
What Is a Car Night Vision System?
A car night vision system uses a forward-facing camera and an in-cabin display to improve awareness in darkness or poor visibility. Depending on the technology, the camera may use visible-light imaging, infrared sensing, or thermal imaging.
A conventional low-light camera captures an image using available light. Infrared systems use illumination outside the normal visible spectrum. Thermal imaging detects heat differences, allowing warm objects such as people, animals, and vehicles to stand out against a cooler background.
The system may show a live image on:
- A dedicated dashboard screen
- A windshield-mounted display
- An integrated infotainment screen
- A head-up display
- A compatible digital instrument panel
Some systems only provide video. Others include object recognition and audible or visual warnings for hazards ahead. More sophisticated units may identify pedestrians, animals, vehicles, or obstacles and generate real-time alerts.
The purpose is not to replace headlights or normal driving attention. Instead, night vision can provide another layer of road awareness, particularly on unlit roads, during fog, or when glare makes ordinary visibility more difficult.
How Difficult Is Car Night Vision Installation?
For most vehicles, installation falls into one of three categories. This is where the difficulty level usually starts to diverge: car night vision installation that’s truly plug-and-play is often quick, while systems that need hardwiring or integration can be much more involved.
Basic plug-and-play installation
The simplest systems are designed for relatively easy fitting. They may include:
- A camera with a universal mounting bracket
- A separate display
- A power cable for a 12-volt socket
- A preconnected video cable
- Adhesive or suction mounting hardware
With this type of kit, car night vision installation may mainly involve mounting the camera and screen, connecting the cables, and adjusting the viewing angle. The main challenge is securing the components so they do not move, rattle, or interfere with visibility.
This approach is often suitable for drivers who want a removable system or do not want to modify the vehicle’s wiring. However, a cable running across the dashboard or near the steering wheel may look untidy and could become a distraction if it is not routed carefully.
Hardwired aftermarket installation
A hardwired system connects to the vehicle’s electrical supply rather than using a visible accessory socket. This produces a cleaner result, but car night vision installation becomes harder because it requires more electrical knowledge and careful routing.
The installer may need to:
- Identify a suitable ignition-switched power source
- Use an appropriate fuse or fuse tap
- Connect a ground point
- Protect the wiring from abrasion
- Route cables behind trim panels
- Confirm that the system shuts down correctly
- Prevent interference with airbags and factory wiring
Hardwiring is not necessarily difficult for someone experienced with automotive electronics, but mistakes can cause blown fuses, battery drain, warning lights, or damage to sensitive vehicle circuits. The correct connection method varies between vehicles, especially newer models with complex electrical systems.
If you’re unsure how a night-vision-style camera setup differs from other camera installs, it’s worth reviewing compatible mounting approaches before starting, like this guide: Backup camera differences: Car Night Vision Camera vs Backup Camera (Key Differences).
Integrated installation
The most demanding option is connecting the system to the vehicle’s existing infotainment display, instrument cluster, or driver-assistance network. This may require a compatible interface, additional modules, specialist software, or vehicle-specific wiring—making car night vision installation the hardest in practice.
Integrated installation can provide a more polished appearance, but it may be difficult to complete without technical documentation. Some vehicles have proprietary communication systems, and interfering with them can create problems far beyond the night vision system itself.
For this reason, an integrated installation is usually best handled by an experienced automotive electronics installer.
The Main Installation Steps
Although products vary, most aftermarket systems follow a similar installation sequence. If your car night vision installation plan includes hardwiring or interior integration, treat each step as a safety-critical task rather than a simple “connect and mount” job.
1. Plan the Camera Position
The camera should face forward and provide a clear view of the road. It must be mounted firmly enough to maintain its angle over bumps, braking, and vibration.
Common mounting positions include:
- Behind or near the front grille
- Below the front bumper
- On the front number plate area
- Behind the windshield
- Near the rear-view mirror, when the system is designed for interior mounting
The best position depends on the camera’s weather resistance, viewing angle, heat tolerance, and installation instructions.
A camera mounted behind the windshield is easier to protect from weather, but reflections, tint, defrosting elements, and windshield dirt may affect image quality. A camera mounted outside may provide a clearer view, but it needs proper protection from rain, road spray, dirt, stone impact, and pressure washing.
Avoid placing the camera where it blocks the vehicle’s grille airflow, interferes with parking sensors, covers a radar sensor, or conflicts with a front license plate. On vehicles equipped with factory cameras or radar-based driver assistance, careless mounting can affect other systems.
If you’re still deciding whether this type of upgrade is right for your vehicle, start with selection guidance first: How to Choose the Right Car Night Vision Camera.
2. Mount the Camera Securely
The mounting surface should be clean, dry, and strong enough to support the camera. Adhesive mounts can work well on suitable surfaces, but they may fail when exposed to heat, moisture, vibration, or road contamination.
A bracket fixed with mechanical fasteners is generally more secure, but drilling or removing bodywork requires greater care. Before making any permanent modification, check:
- What is behind the mounting surface
- Whether the camera will remain level
- Whether the bracket can be removed later
- Whether the location exposes the camera to excessive heat
- Whether the camera will remain within the manufacturer’s recommended angle
A camera that points too high may show mostly sky and headlights. One that points too low may miss hazards farther down the road. The mounting angle should be checked again after the vehicle is on level ground.
3. Route the Video Cable
Cable routing is one of the most time-consuming parts of the job. The cable must travel from the camera to the display without being exposed to moving, hot, sharp, or wet components.
Outside the passenger compartment, keep wiring away from:
- Exhaust components
- Radiators and cooling fans
- Steering and suspension parts
- Drive belts
- Sharp metal edges
- Areas exposed to direct tire spray
Inside the cabin, cables can often be routed behind trim panels, under the headliner, along the A-pillar, or beneath the dashboard. However, the A-pillar may contain curtain airbags. A cable placed incorrectly could interfere with airbag deployment.
Never force trim panels back into place over a cable. Pinched wiring can fail later and may create unwanted rattles. Use suitable clips, loom, or ties to keep the cable secure without crushing it.
4. Connect the Power Supply
A night vision system needs stable electrical power. Some units use a standard accessory socket, while others require hardwiring—one of the main reasons car night vision installation can feel difficult.
A socket connection is easier and reduces the risk of wiring mistakes. It may be practical for occasional use, but it can leave a cable visible and may occupy the only available power outlet.
Hardwiring usually creates a cleaner installation. The installer must select the correct circuit and protect it with suitable fuse protection. The system should ideally turn on with the ignition and shut down when the vehicle is switched off, unless it has a properly designed parking or standby mode.
Battery drain is a common concern. A system that remains powered after the engine is off may discharge the battery, particularly if the vehicle is parked for several days. Do not assume that a low-power device is safe to leave connected indefinitely.
For general guidance on proper vehicle electrical work and fuse protection, see the NFPA (National Fire Protection Association) for safety considerations around electrical systems.
5. Install and Position the Display
The display should be visible without requiring the driver to look far away from the road. A central dashboard position may be convenient, but it must not block factory displays, vents, controls, or the forward view.
Possible locations include:
- The upper dashboard
- Near the center console
- Beside the instrument cluster
- On a suitable windshield mount
- In an existing screen using a compatible interface
The screen should not create excessive brightness at night. A display that is too bright can reduce the driver’s ability to see beyond the screen. If the system provides brightness, contrast, or automatic dimming controls, adjust them while driving in a safe stationary location before using the system on the road.
6. Test the System Before Driving
Testing should cover more than simply checking whether the screen turns on.
Confirm that:
- The image is upright and correctly oriented
- The camera remains stable when the vehicle moves
- The screen is readable in darkness
- The system starts and shuts down as expected
- Warnings are not excessively loud or distracting
- The cable does not interfere with pedals or steering
- Other vehicle functions still operate normally
- No dashboard warning lights appear
- The camera view is not blocked by dirt, moisture, or trim
Test the system during daylight first, then in a safe, familiar area at night. Do not adjust the camera or screen while driving.
What Makes Installation Difficult?
The physical installation is usually straightforward. The issues that make car night vision installation difficult are typically compatibility, safety, and calibration.
Vehicle trim and interior access
Modern interiors often use tightly fitted panels and hidden clips. Removing them without the correct tools can cause broken clips, scratches, or loose trim afterward.
Plastic pry tools are safer than metal screwdrivers for most interior panels. Work slowly and do not pull aggressively when a panel resists; there may be a concealed fastener or electrical connector.
Airbag locations
Many vehicles have airbags in the steering wheel, dashboard, doors, seats, and roof pillars. Wiring routed near these components must not interfere with their operation.
If the installation requires removing an airbag panel, unplugging safety-system connectors, or working close to an airbag module, professional installation is the safer option.
Electrical complexity
Older vehicles may have relatively simple 12-volt wiring. Newer vehicles can have sensitive control modules, energy-management systems, and networks that monitor electrical loads.
Connecting a device incorrectly may cause:
- Blown fuses
- Battery discharge
- Electrical faults
- Flickering displays
- Radio interference
- Warning messages
- Unintended behavior from other accessories
When in doubt, use the manufacturer’s wiring instructions or consult an automotive electrician.
Camera calibration and alignment
A forward camera does not always require formal calibration, but it must be aligned correctly. If the image is tilted, offset, or aimed too close to the vehicle, its practical value decreases.
Systems that identify pedestrians, animals, or vehicles may also rely on software settings or detection zones. Follow the installation procedure carefully rather than assuming that a working image means the system is correctly configured.
Weather exposure
Exterior cameras must be sealed and mounted where they can withstand normal road conditions. Water entering a connector can cause intermittent faults that are difficult to diagnose.
Use weather-resistant connectors and route the cable so water cannot run directly along it into the camera or cabin. Avoid placing connectors in low areas where they can sit in standing water.
Can a Beginner Install One?
A beginner may be able to handle car night vision installation if it’s a true plug-and-play setup with a dedicated screen, a clear mounting method, and accessory-socket power. The work still requires patience and careful cable management, but car night vision installation is often manageable when you avoid hardwiring and keep everything within the manufacturer’s instructions.
DIY installation becomes less suitable when:
- The system must be hardwired
- The camera requires drilling or bodywork modification
- The display must connect to factory electronics
- The cable passes near airbags
- The vehicle has complex driver-assistance sensors
- The camera requires calibration
- The instructions are unclear
- The system will be used in demanding weather conditions
A useful rule is to separate the project into two questions: can you physically mount the equipment, and can you connect it without compromising the vehicle? If the second answer is uncertain, professional fitting is sensible. For more on deciding whether this kind of upgrade is realistic for everyday drivers, read: Aftermarket Night Vision System: Can Regular Drivers Install One?.
When Professional Installation Is Worth the Cost
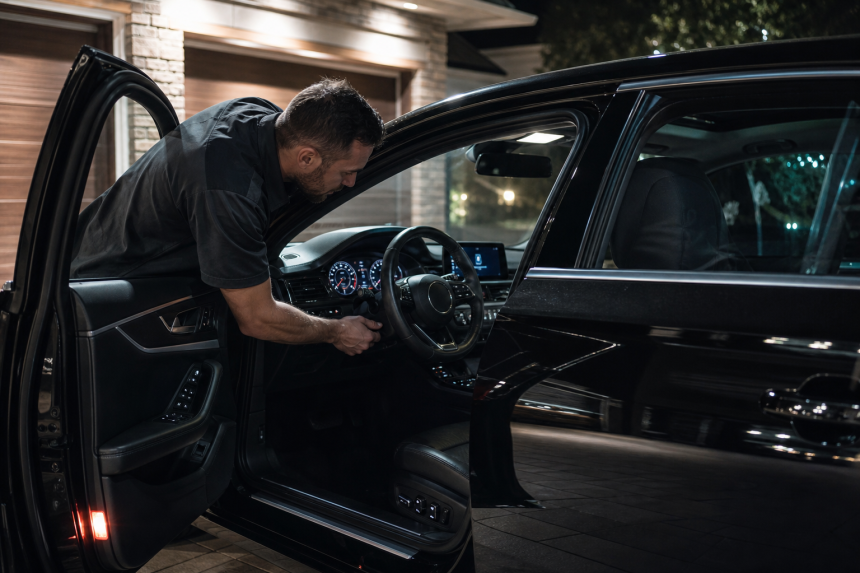
Professional installation is particularly valuable when the system is intended to remain in the vehicle permanently. An experienced installer can hide wiring, select an appropriate power source, protect cables, and check that other vehicle systems are unaffected.
Professional help is also worthwhile for:
- Luxury or newer vehicles with complex electronics
- Vehicles with multiple factory cameras and radar sensors
- Systems connected to factory displays
- Installations requiring permanent drilling
- Vehicles used in severe weather
- Drivers who want a clean, factory-style finish
- Any installation involving airbags or safety-system wiring
Before booking the work, ask whether the installer has experience with aftermarket cameras, thermal imaging equipment, and the specific vehicle model. A general audio installer may be excellent with stereos but less familiar with camera calibration or advanced driver-assistance accessories.
How Thermal Night Vision Differs From a Normal Camera
A normal camera depends on visible light. Even a high-quality low-light camera may struggle when headlights create glare, a road has no street lighting, or fog scatters light across the scene.
Thermal imaging works differently. It detects heat emitted by objects rather than relying solely on visible illumination. This can help warm bodies stand out in dark surroundings, including pedestrians or animals near the edge of a road.
Thermal imaging also has limitations. It generally does not provide the same visual detail as a normal daylight camera, and it may not clearly show road markings, signs, colors, or small objects. Rain, fog, road spray, obstructions, and the distance of the target can all affect performance.
The display should therefore be treated as a supplementary awareness tool. Drivers still need headlights, mirrors, visual checks, appropriate speed, and enough stopping distance.
Is a Night Vision System Useful in Real Driving?
The value depends on where and how you drive.
Rural roads
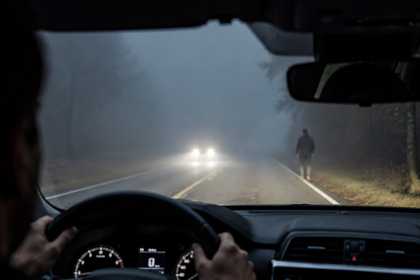
Unlit rural roads are one of the more relevant use cases. A pedestrian, cyclist, deer, livestock animal, or other hazard may be difficult to see before entering the headlight beam. A night vision display may provide earlier visual awareness, giving the driver more time to respond.
It does not remove the need to reduce speed. Narrow roads, bends, hedges, crests, and unpredictable animals still require conservative driving.
City driving
Urban areas usually have more lighting, but city driving can still involve poor visibility. Pedestrians may appear between parked cars, cyclists may be hidden by glare, and rain can reduce the clarity of reflections and road markings.
In heavy traffic, however, the driver may have little time to interpret an additional display. A system that generates frequent warnings could become distracting if alerts are not well managed.
Highway driving
On highways, a forward-facing system may help with awareness beyond the strongest headlight area, especially on dark stretches. However, high speeds reduce reaction time. Drivers must not treat a visible thermal target as permission to maintain speed.
A system may also have difficulty distinguishing objects through barriers, vegetation, spray, or traffic density. It is an aid to attention, not a replacement for scanning the road and mirrors.
Fog, rain, and snow
Poor weather is a major reason some drivers consider night vision. Thermal imaging may help identify heat-producing objects when visible contrast is weak, but no camera sees perfectly through every condition.
Heavy rain, dense fog, snow, water droplets, and mud on the lens can reduce the quality of any system. Regular cleaning and sensible speed remain essential.
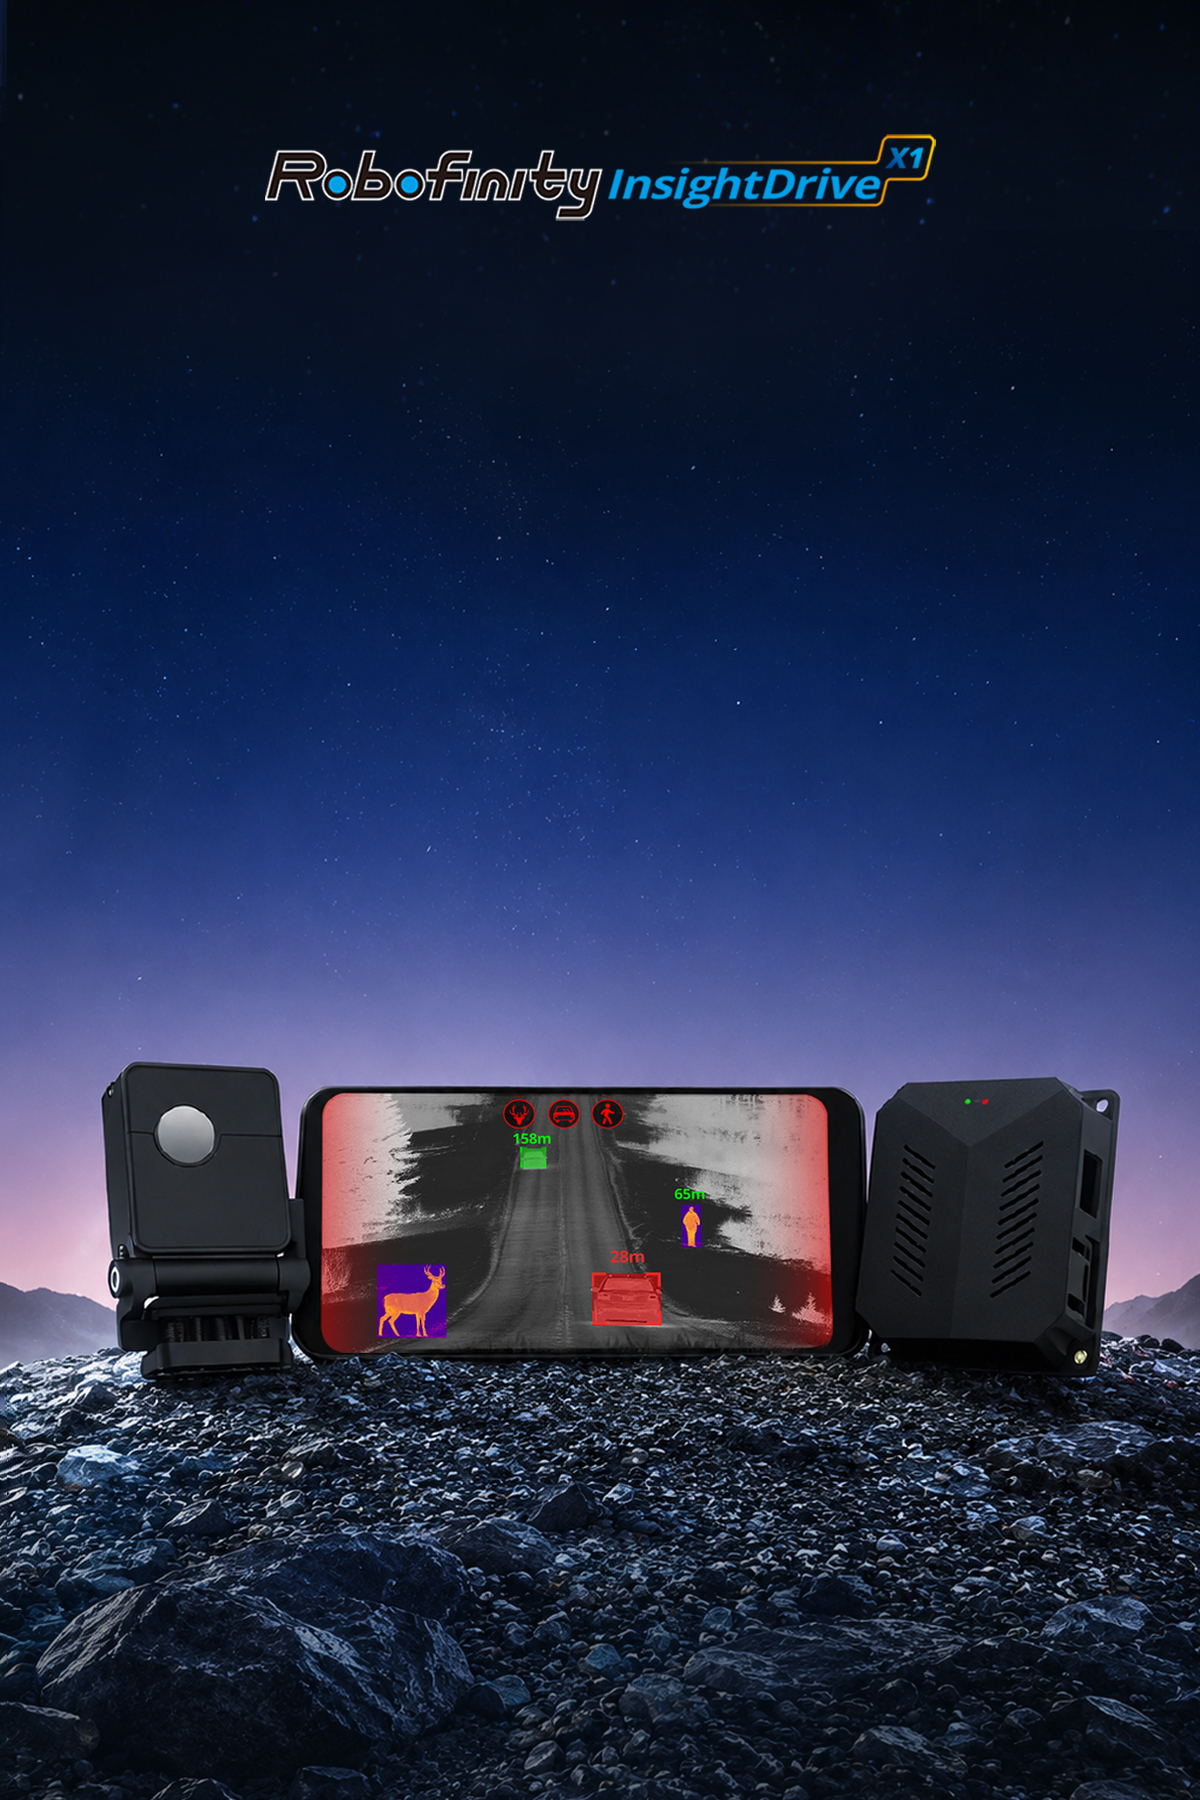
Advanced aftermarket technology can complement factory safety features for drivers who regularly travel at night or in poor visibility. For example, Robofinity InsightDrive is a vehicle thermal imaging night vision system that may support awareness of pedestrians, animals, vehicles, and obstacles in low-light conditions. Like any driver-assistance technology, it should supplement—not replace—headlights, mirrors, safe following distances, and attentive driving.
Installation Costs and Ownership Considerations
The total cost involves more than the device itself. Consider the potential need for:
- Professional labor
- Vehicle-specific mounting hardware
- A wiring interface
- Fuse protection
- Replacement trim clips
- A compatible display
- Camera protection or a weatherproof enclosure
- Future cable or connector repairs
A low-cost system may seem attractive but could require more work to install cleanly. An expensive system is not automatically easier to fit. Read the installation instructions before purchasing and look for information about camera mounting, power requirements, screen placement, weather protection, and calibration.
Ownership also includes maintenance. Keep the camera lens clean, inspect exterior wiring after severe weather, and check that brackets have not loosened. If car night vision installation results in an image that begins to flicker, the system restarts, or alerts become inconsistent, investigate the power supply and connections before relying on it during night driving.
A Practical Installation Checklist
Before starting, confirm the following:
- The system is compatible with your vehicle’s voltage and display options.
- The camera location provides a clear forward view.
- The camera will not block radar, parking sensors, airflow, or the license plate.
- The cable route avoids heat, moving parts, sharp edges, and airbags.
- The power connection is protected correctly.
- The screen is visible without obstructing the road or factory controls.
- The display brightness can be reduced at night.
- The camera and screen can be adjusted while parked.
- The system has been tested in daylight and darkness.
- You understand its limitations before using it in difficult conditions.
If any of these points cannot be confirmed, pause the installation and consult the manufacturer or a qualified installer. Getting car night vision installation right the first time helps prevent recurring issues later—especially with wiring, mounting stability, and proper alignment.
Frequently Asked Questions
Is installing a car night vision system harder than installing a dash camera?
Usually, yes, although the difference depends on the product. A dash camera commonly uses a windshield mount and a simple power connection. A night vision system often needs a forward-facing exterior camera, a separate display, and more careful alignment. Hardwiring and concealed cable routing can make car night vision installation more involved.
Does a night vision camera need to be mounted outside the car?
Not always. Some systems are designed for interior windshield mounting, while others require an exterior position. Interior mounting is easier to protect from weather, but the windshield can introduce reflections, dirt, tint, or defrosting patterns. Always follow the system’s mounting requirements.
Can I connect the system to my factory infotainment screen?
Possibly, but compatibility is not guaranteed. The vehicle may need a video interface or a specific input, and some factory systems do not accept external camera feeds. An automotive electronics specialist can determine whether integrating car night vision installation with factory displays is practical without affecting the original system.
Will a thermal night vision system work in fog and rain?
It may still provide useful thermal contrast in some poor-visibility conditions, but performance varies with the severity of the weather and the condition of the lens. Dense fog, heavy rain, snow, road spray, and dirt can all reduce detection quality.
Can night vision replace headlights?
No. Night vision is a supplementary driver-assistance feature. It does not replace headlights, mirrors, windshield visibility, safe speed, braking distance, traffic awareness, or direct observation of the road.
Should I install the system myself or hire a professional?
A plug-and-play system with simple mounting may be suitable for a capable DIY installer. Professional installation is preferable when car night vision installation requires hardwiring, body modification, factory-screen integration, calibration, or work near airbags and advanced driver-assistance sensors.
Conclusion
Car Night Vision Installation is not automatically difficult, but complexity increases quickly when the job involves concealed wiring, permanent mounting, hardwiring, calibration, or integration with factory electronics. A basic unit may be a realistic weekend project for a careful vehicle owner, while a sophisticated thermal imaging system often deserves professional attention if the installation affects safety equipment or complex vehicle networks.
The most important part is not simply getting an image on the screen. When car night vision installation is done properly, the camera must be correctly aligned, the wiring must be secure, the display must remain unobtrusive, and the system must be tested under realistic conditions. Night vision can support road awareness during darkness and poor visibility—but it should remain one part of a broader safe-driving approach rather than a substitute for attentive, responsible vehicle control.